Reply With Quote
Gday Vroomery,
I'm sure DVM will chime in with much more useful advice than me, but anyway, I'll throw my 2c worth in.
*First thing, check the board for broken etches etc.
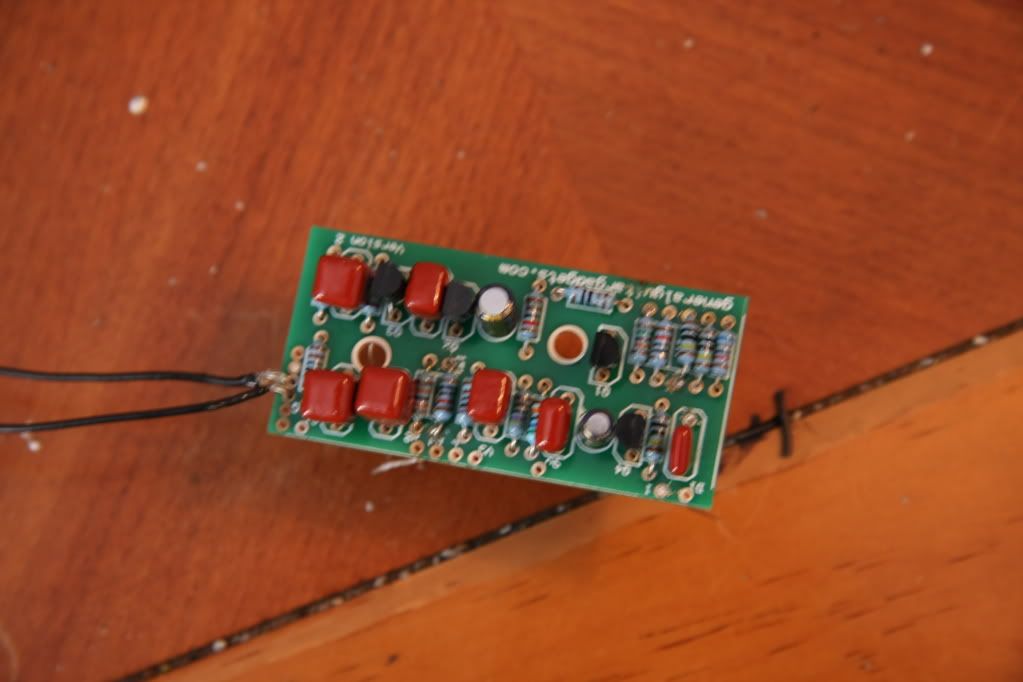
*Then for each component you install, double-check you have the correct value/part/orientation. Unsoldering stuff becomes a messy affair.
*I usually start with resistors, then caps, and transistors/opamps last.
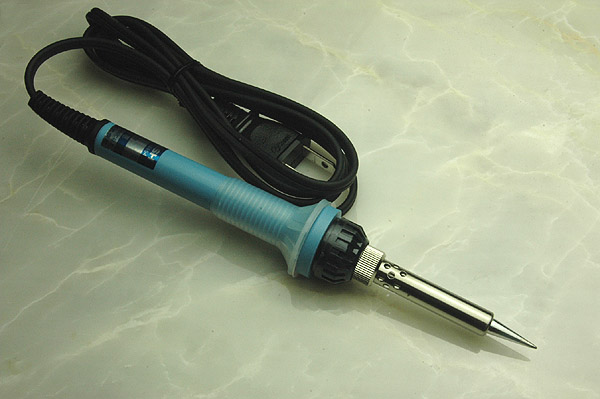
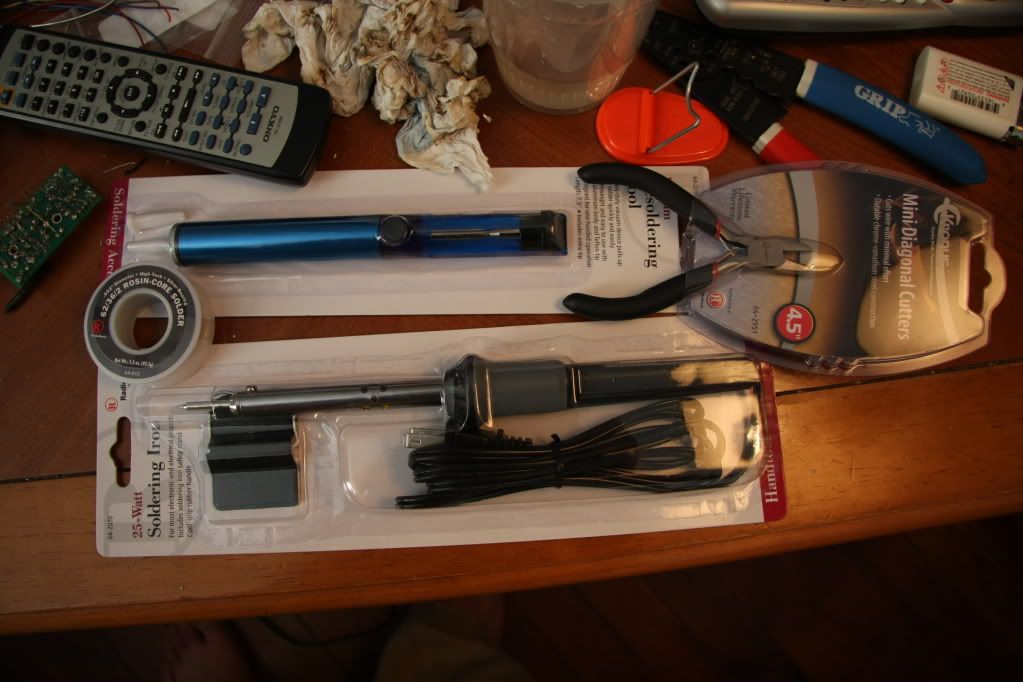
*Don't know what soldering iron you're using, but I have a 40w which is OK, but I think it gets a little too hot sometimes.
*The tip needs to be fine if you want a clean job. And keep the tip clean, I usually clean it after a couple of runs.
*For Opamps, use IC sockets (which should be provided in the kit, but not 100% sure). That way you won't cook the chip and it'll save you a lot of hassle if you accidently insert it upside down/backwards.
*Some people usually do the same for the transistors, which is probably a good idea.
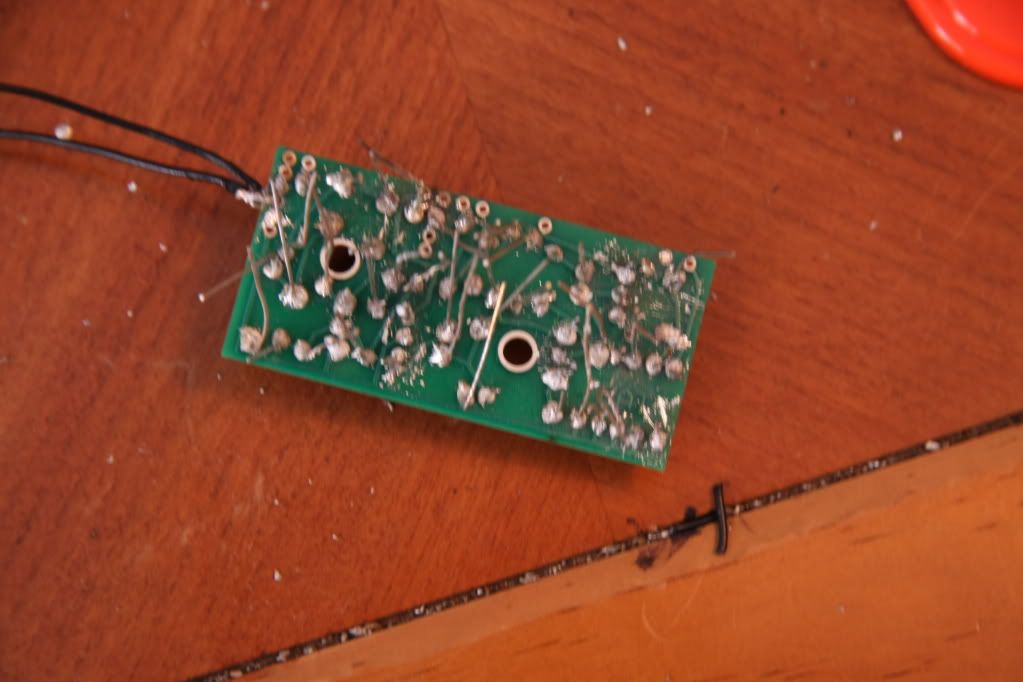
*After everything is installed and you've checked the work again for bad joints, incorrect placement of components etc, it's probably a good idea to give the solder-side of the board a clean. I use a toothbrush (an old one, not my wife's) and nail polish remover (my wife's).
*For wiring to jacks/pots etc, I like to make the wires a little long, then cut them to size after routing. I usually like to run the wires so they run around the inside edge of the box. It looks a lot tidier (IMHO).
*Also, just remember, when you're installing the board into the box you're going in from the bottom, so the jacks will be reversed (i.e the i/p jack is now on the left, and the o/p on the right).
*The jack with 3 connectors is the i/p jack and the one with 2 connectors is for the o/p.
I've probably told you stuff you already know, but anyway, good luck and happy building. It gets quite addictive (and if you're like me, probably end up building boxes you don't really need).
P.S: Here's a resistor colour code chart so you can verify the values before insertion.