Warning: preg_replace(): The /e modifier is deprecated, use preg_replace_callback instead in ..../includes/class_bbcode.php on line 2958 The .45 is Alive! (or how to build your own tube amp in seventy billion steps.)
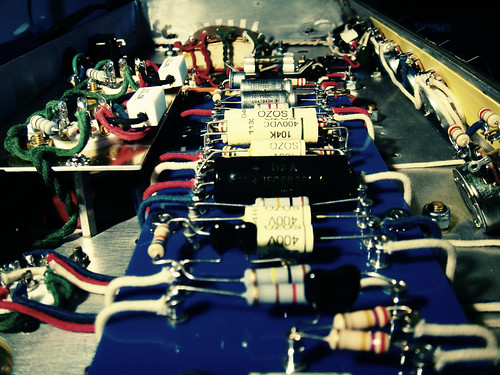
Here's the power section. Note the Marstran PT rotated 90 degrees to match the chassis cutout, the beefed up cloth covered heater wires and to keep it retro, I decided to lace up my wiring with waxy string instead of cable ties or heat shrink. Currently the amp is partially star grounded. You can see the mains grounded to one PT bolt and everything else grounded to the other PT bolt.
The lead dress is in draft stage, but as you can see, I tried to keep heaters away from power and signal, and cross them at 90 degrees where possible. Solid core cloth covered wire is amazing for this. With the exception of the modern looking OT wires, everything else just stays in place even without the string!
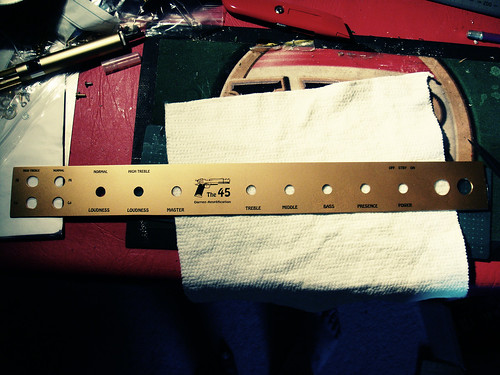
In this one you can see just how deep I had to recess the power tubes. You might also note the yellow insulation inside the control panel. With massive chassis holes, I had to mount the pots to the actual control panel I fabricated. This meant that the solder lugs on the pots came too close to the chassis for my liking, so I sliced up a large section of heat shrink and spray glued it to the chassis. Again with the McGyverin'


 Reply With Quote