


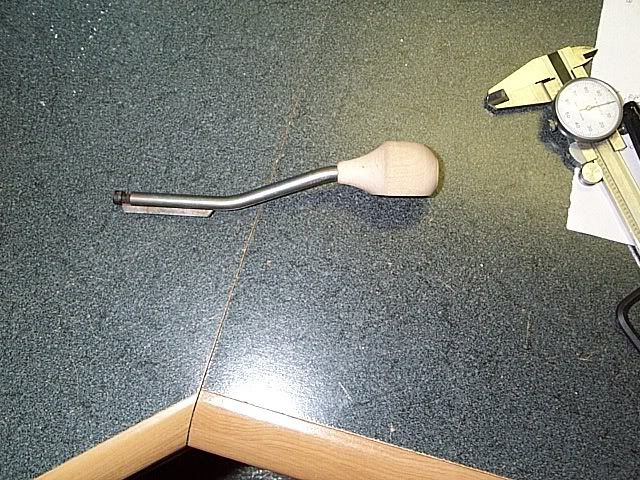
The next tool is a fret crowning file. It's basically an ergonomic handle with a file insert that has a concave cutting edge. The inserts come in 3 sizes, narrow, medium and jumbo - for different fret widths. Normally I'd use a medium file on these medium frets but I had to take off so much material that it would take forever so I used the jumbo insert, which will give the fret tops a wider radius (and less material has to be removed). That will also make this guitar a little easier to do slides on and it will go longer before it needs fret work again.
I re-color the fret tops with the marker so I can gauge my progress. Great care must be taken not to file lower than the new top, otherwise you'll have low spots again. Crowning is tedious work. The file is pushed firmly, carefully and evenly across each fret maybe 20 or 30 times until the black becomes a very thin line and eventually disappears. I didn't get any pictures of myself filing but this is the finished job. You can see the markings on the tape that I use in the beginning to remember what's what. The straight lines indicate high spots and the X's indicate low spots.
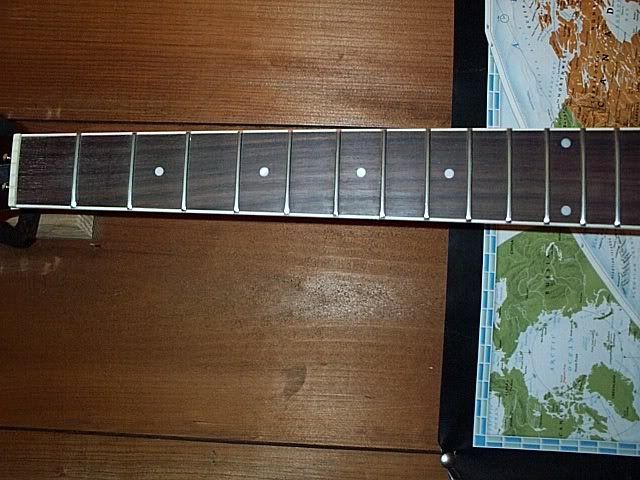
After crowning, and before removing the masking tape, I run 400 grit sandpaper vigorously over the frets, end to end, to shine them up and make them very smooth. I've used steel wool and even polished frets in the past but I'll save that for later on this guitar. Here's where we are so far.
I rubbed some boiled linseed oil on the fretboard afterward to clean, preserve and enhance the wood. This fretboard wasn't very bad at all but if you look carefully at this picture you can see the results between the first 5 frets.
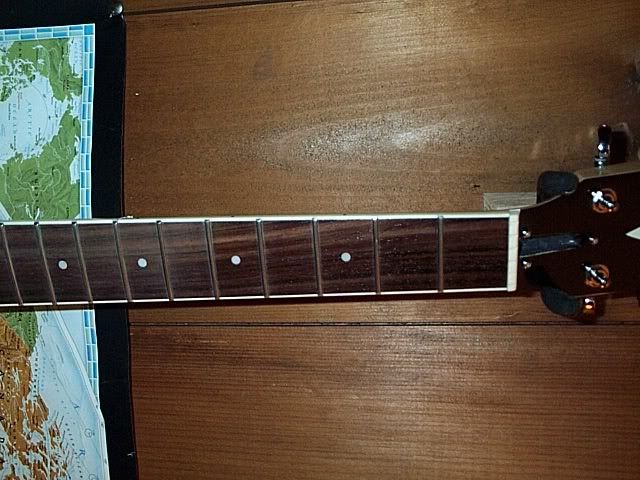
Not that this picture looks any different from the first one but here's the finished product. I restrung it and gave it a setup and was able to get the action down to .040" (a little less than 3/64" or a little more than 1/32"). Arguably lower than is comfortable for playing. I'll raise it up a bit later but I like to see how low I can get it as a gauge of my work. I can safely say this neck is now in great shape.
-------------------------------------------------------------------------------------------------------
If anyone's interested here are the two main tools you'd need for this job:
http://www.stewmac.com/shop/Fretting..._Levelers.html
http://www.stewmac.com/shop/Fretting...Fret_File.html


 Reply With Quote
