Warning: preg_replace(): The /e modifier is deprecated, use preg_replace_callback instead in ..../includes/class_bbcode.php on line 2958

Warning: preg_replace(): The /e modifier is deprecated, use preg_replace_callback instead in ..../includes/class_bbcode.php on line 2968

Warning: preg_replace(): The /e modifier is deprecated, use preg_replace_callback instead in ..../includes/class_bbcode.php on line 2958
First attempts at self built pedal kits
Results 1 to 19 of 34

Thread: First attempts at self built pedal kits

Hybrid View

  1. #1
    Join Date
    Aug 2008
    Posts
    323
    Post Thanks / Like

    Default

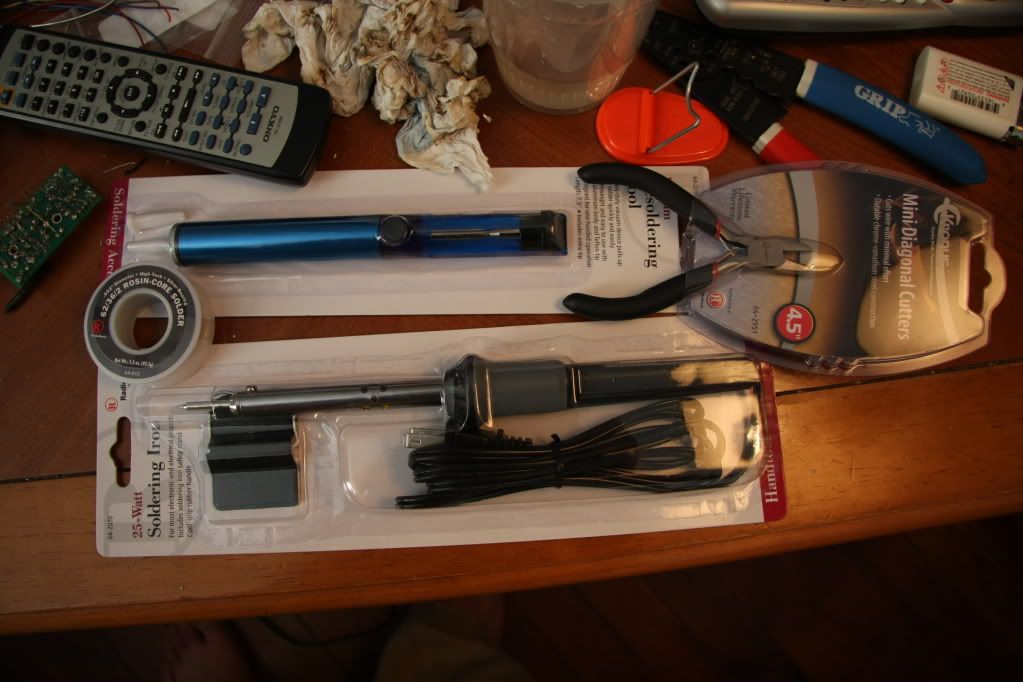
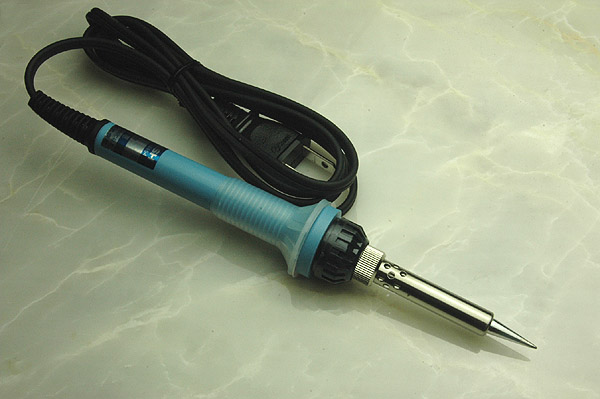
    Before you go any further, how big is your iron? The size you should be using is like this:

    25W


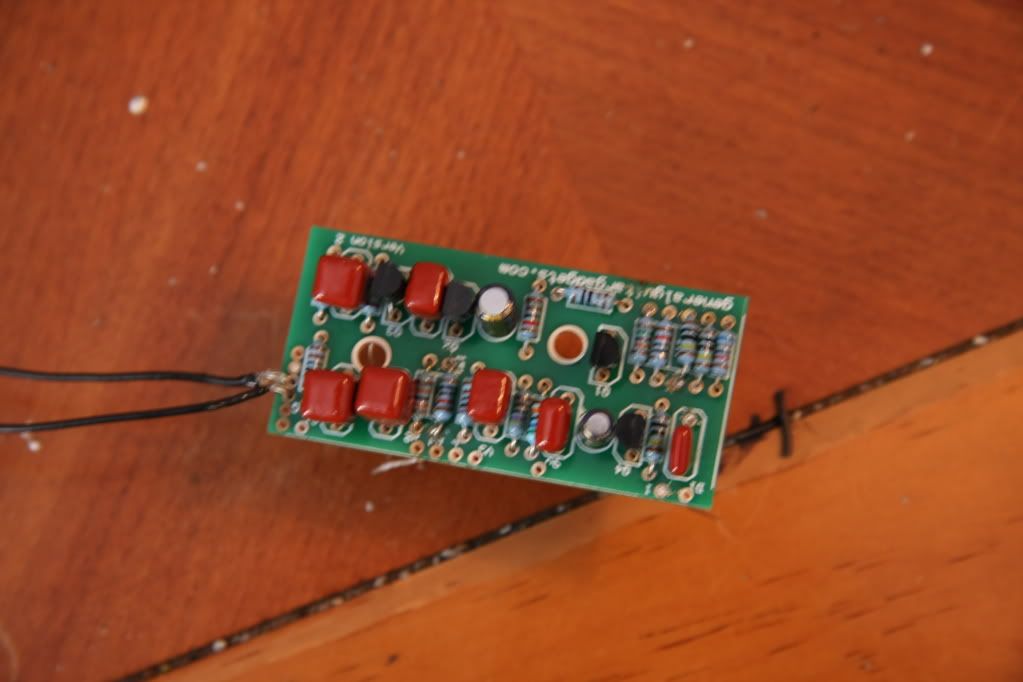
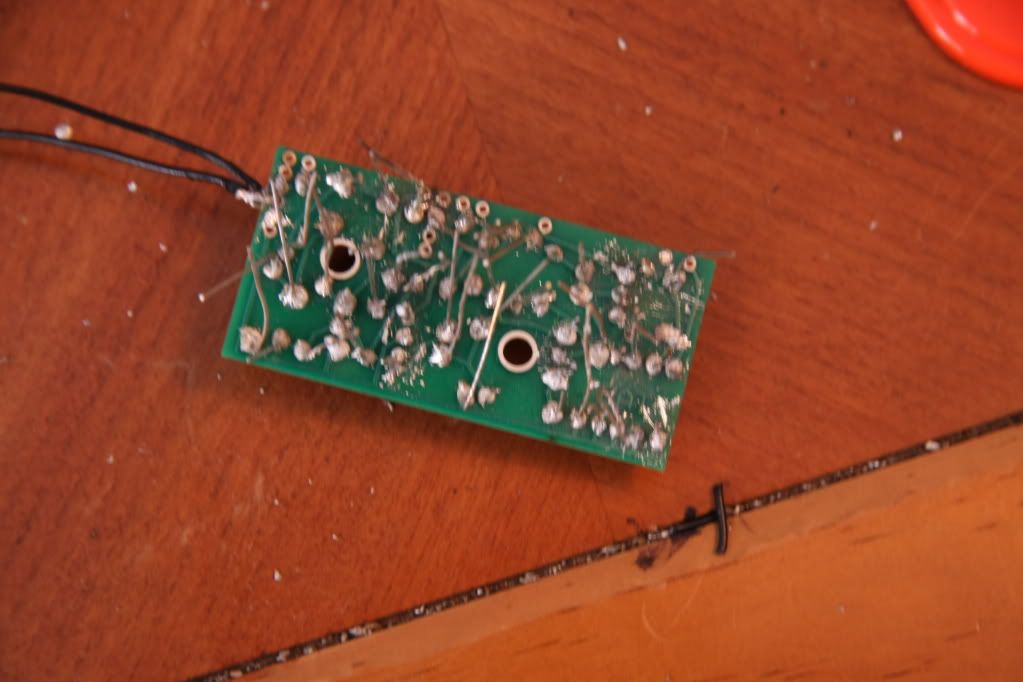
    If you're trying to use something much larger than this, you'll get yourself into trouble. Yeah, each solder point should be a "1-shot" i.e you shouldn't try to solder multiple times in the same place. The joints become "dry" (if you look closely, instead of a nice shiny joint (good), it looks cloudy and "bubbly" (bad)). If you show me what you've done so far by way of photograph, maybe I can offer some advice on how to fix it. My job in a previous life was repairing PC and monitor boards, so I have some experience in this area. You can PM me if you like.
    Guitars: Epiphone SG-400 Custom; Epiphone Firebird V; 1996 Gibson LP Standard; Avion 4; Yamaha FG-301B acoustic

    FX: TS-808; Big Muff (Triangle Version); Red Llama; Green Ringer Octave Up (Clones); Maxon Phaser; Maxon Compressor; Tremulus Lune Tremolo; Line 6 POD II

    Amp: (Somewhere in another country) Hiwatt 100W head, Marshall 4x12 cab

    My noise here

  2. #2
    Join Date
    Feb 2006
    Location
    Uppah Noo Yawk
    Posts
    7,407
    Post Thanks / Like

    Default

    Excellent tips from Suhnton, quite comprehensive. Just a couple of things to add:

    • A 40W iron for this kind of work is w-a-a-a-y-y too big. I'd recommend an iron in the 20 - 25W range. I'm on my 3rd one of THESE, and they work very well for this service. BTW, I'd recommend the 0.032" diam. 60/40 tin-lead rosin-core solder from Radio Shack. Stay away from the non-leaded type, unless you you have a masochistic streak. Believe me, the planet isn't going to implode because we DIY pedal-makers use the leaded stuff....
    • For DIY beginners: Read the kit instructions thoroughly before you start. Then read them through a second time before picking up your soldering iron. Now put the iron down and read 'em a third time. No kidding. The more familiar you are with this, the less likely you are to make beginner mistakes. As you mentioned, desoldering tends to be a rather large PITA. This will help avoid it.
    • Which brings me to key supplies to perform desoldering effectively, when you have to. Desoldering braid is an absolute essential--get some. A desoldering bulb is helpful for cleaning out plugged eyelets. And if you think you'll be doing more of this, a proper desoldering tool is better yet.
    Hope that helps. Take your time and ask questions if you get stuck....
    DVM's Ever-Expanding Gear List:

    Guitars - W-A-A-A-Y-Y too many to list. Check 'em all out HERE

    Amps & Cabs - "Kap'n Kerrang-aroo" BYOC 18W TMB kit amp head; Mojave Coyote head; Fender Hot Rod Deluxe Lacquered Tweed Ltd. Ed.; Allen Sweet Spot kit amp; BYOC Tweed Royal kit amp; Epiphone Valve Jr. combo + mods; Drive 2x12 cab / Celestion G12M Greenback + G12H30; AB Custom Audio 1x12 cab / Celestion Alnico Blue

    Pedals/Effects - ZILLIONS, including DVM's Home-built Pedals - See some HERE and HERE, TOO!

    DVM's Gear Photos
    Visit MY WEBSITE!


  3. #3
    Join Date
    Sep 2007
    Location
    Clarksburg, WV
    Posts
    209
    Post Thanks / Like

    Default

    Well I made a trip to radio shack today. I have learned first hand the importance of having the right tools. Now that I understand this I really laugh at how gross this project looks at this point. Here's a few pics for laughs.


    This side looks ok.


    This side looks like solder was barfed all over the circuit board.


    Got this fun stuff from radioshack. Right now the plan is to just take it all apart, clean the board as best I can and then start over. I haven't even cut a good few of the wires because my wire cutters were a joke. Now I have some good ones so that shouldn't be a problem.

    Quick question about order of application. Do you guys thing it's easier to start with the smallest items (Resistors) and then go to the larger items, or do you prefer to move in one direction across the board so that you always have a clean angle to the point that you are soldering? It seems like the second method might be a little easier, but I don't know. Also, are there any special tricks to restoring the solder points so they are not dry and will take the new solder well? Thanks again. I cannot stress enough how much better I feel about doing this stuff while knowing that I can ask you guys for answers.

Posting Permissions

  • You may not post new threads
  • You may not post replies
  • You may not post attachments
  • You may not edit your posts
  •